


Introduction
A virtual machine (VM) is a compute resource that uses software instead of a physical computer to run programs and deploy app. This article explains in details steps to take in creating a virtual machine that runs on windows 11 pro operating system (OS).
Steps To Creating A Windows 11
The following outlines the steps taken to creating a virtual machine in Azure portal;
Login To Azure Portal
The first step is to sign in to your Azure portal account provided you have an account already and an Azure subscription. You can create a new account using this link.
Creating The Windows 11 Virtual Machine (VM)
To navigate easily to where the vm is located, one can enter the name "virtual machine" in the search bar. There will be dropdown options that will appear below suggesting what you might be looking for and you will see virtual machine among the list even before you are done typing it. Select the option that says "virtual machines".

Then click on "create" button and select the first option as shown below which is Azure virtual machine - create a virtual machine hosted by Azure.

The next page that follows is setting up the vm with your desired configurations and they are divided in sections. The following outlines the sections:
Project Details: In this section the Azure subscription and resource group where the vm will be created in must be specified, Click on "create new" to create a new resource group. An Azure Subscription is a logical container used to provision resources in Azure, It holds the details of all your resources like VM, database, etc. A resource group is like a container or folder that helps you organize and manage the different resources such as virtual machines and databases that you use in the Azure cloud.

Instance Details: This is where you give your virtual machine a name and select the region that is right for you and also select which availability zones the virtual machine will be created.

The next field security allows you to choose what type of security should be implemented to provide protection for your virtual machine.

The image field is where we select which operating system we desire to create and in this case we select windows 11 pro.
Next is the size field, this is where we select the VM size to support the workload we want to run and it is determines factors like processing power, memory, and storage capacity.

Administrator account: This is where you provide the credentials(username and password) to be used in connecting to the VM.

Inbound port rules: This is where we specify which port should be opened for inbound network traffic. Here we select port 3389 which is the default and will be used to establish connection with the VM using RDP(Remote desktop protocol is a secure network communications protocol which gives users remote access to their physical work desktop computers.) click Next: Disks> button which will take us to disk configuration section.
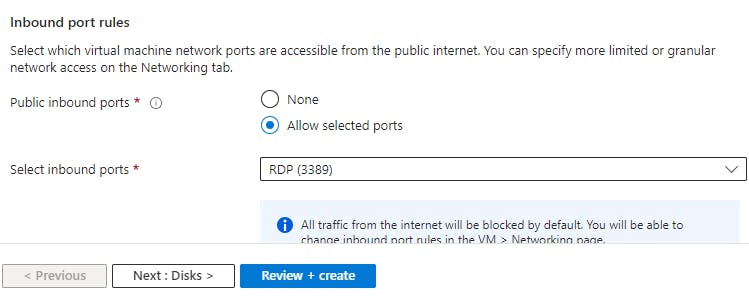
Disk: This section allows us to choose what type and size of storage we want to attach to VM. Leave the remaining configuration section(networking, management, monitoring and advanced) as default.

Tags: Tags are a way to label and organize resources in our environments. It helps in managing, organizing, and tracking resources within a cloud infrastructure. Click on review + create button and then create after reviewing your configurations.

Connecting To The Windows 11 VM
After hitting the create button, Azure will start deploying your VM and complete it in few minutes.
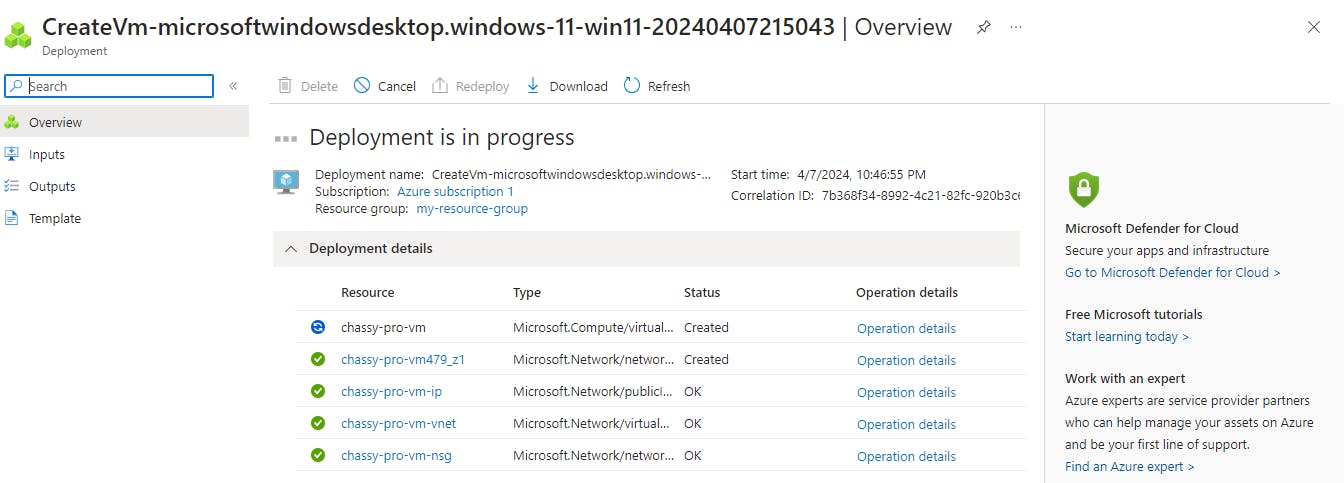
Upon completion click on Go to resource button which will take you to the page that shows configuration details of the windows VM deployed.
To connect to the windows VM from your local machine, Click on connect button which will take you to the page below:
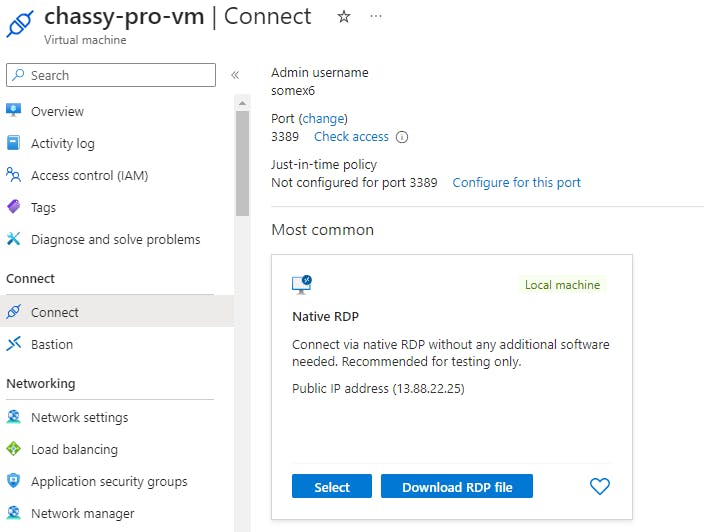
Click on Download RDP file. when the download is complete launch the file and click on connect

Enter the password specified initially during the provisioning phase and click OK

When asked; The identity of the remote computer cannot be verified. Do you want to continue anyway?, Click Yes. And that's it you are connected to your Windows 11 Pro !

Hope this tutorial was helpful to you...Let me know what you think